RMR Phat Cat Multiday Frame Build Cheap and Easy
Here's The Idea
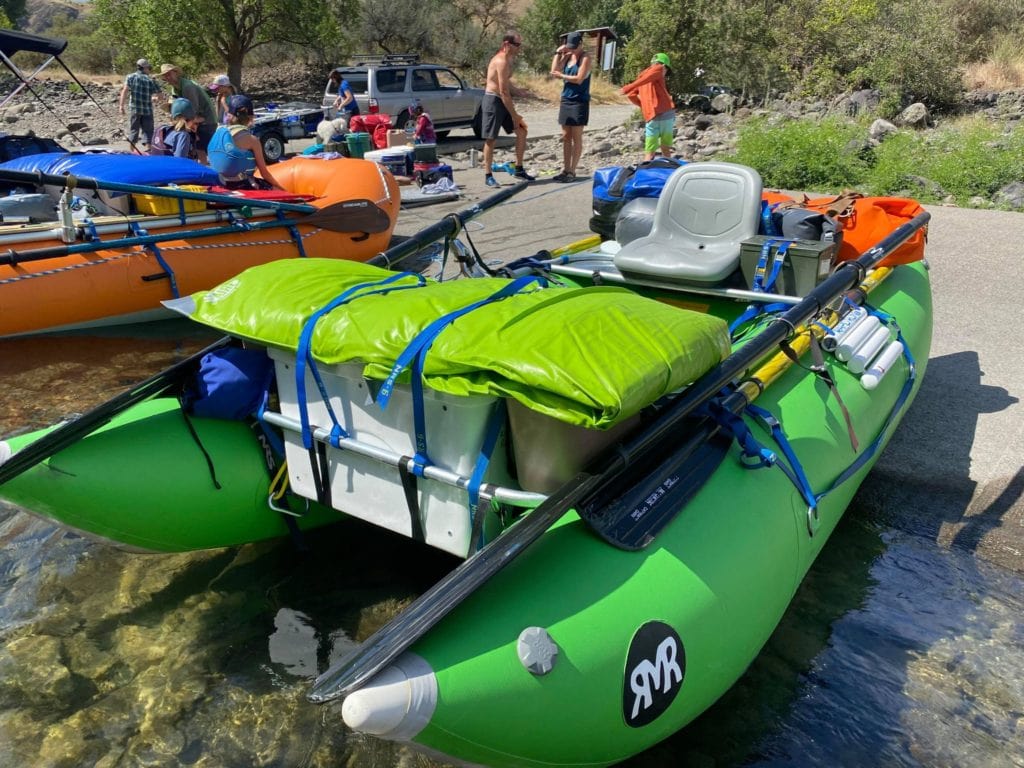
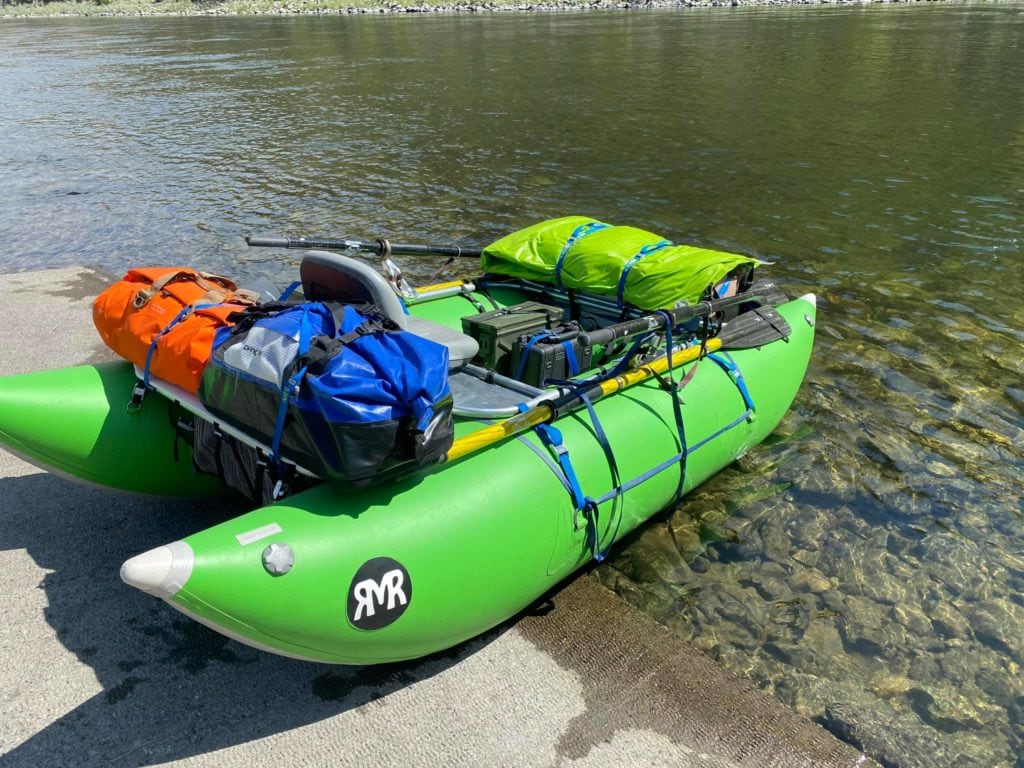
I’ve been building my own frames for a while (check out this post to see a couple videos of my old 130e frame http://riverdog-outfitters.com/new-kids-fishing/) but this is my first build for someone else. Our buddy Jon wanted to set up his RMR Phat Cat with a frame that could handle a multiday trip down the Salmon while also being simple enough for play runs on the Wenatchee. You can cut right to the chase and watch a video of the build project, or continue reading for some more detail in how I went about this project.
Keep it Simple Stupid
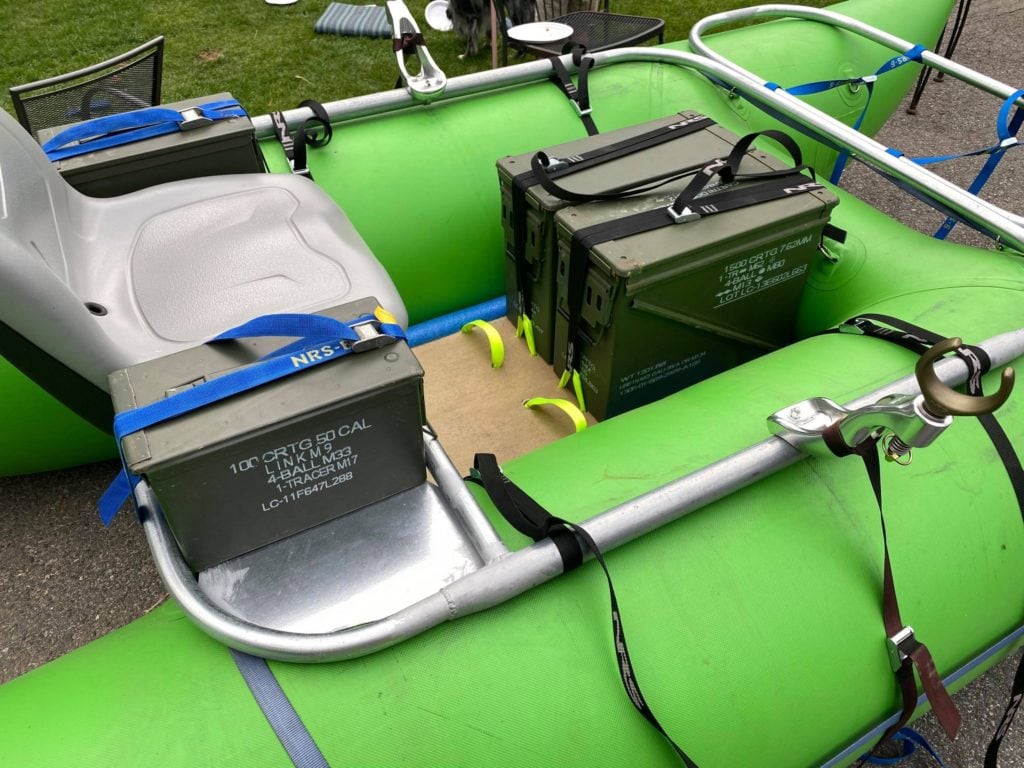
Whether you checked out the video or not you can see its a very simple and cheap set up. I use 1 inch EMT conduit which is steel tube just over 1 inch overall diameter, about 16 gauge thickness, galvanized, and only around 11 bucks for a 10 foot piece. My other material is 1 5/8 inch galvanized fence post which is also about 16 gauge thick steel. The 1″ EMT is easily bent with a conduit bender by hand and that’s all there is to this frame. A couple 90 degree bends to make a few hoops.
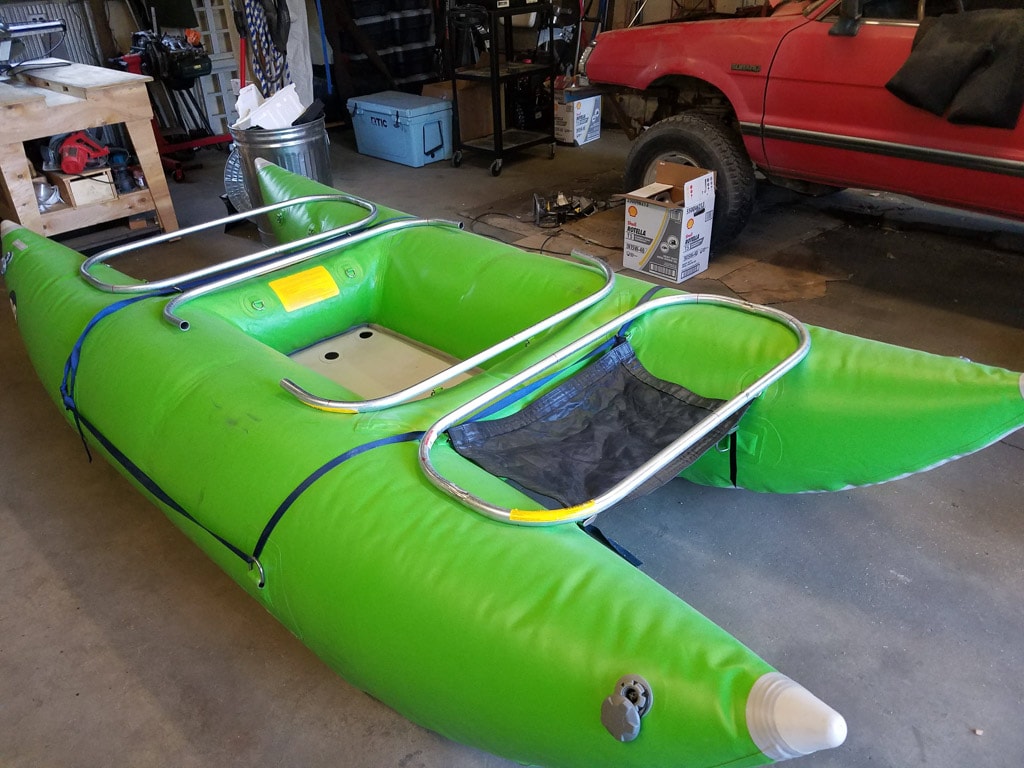
At the bow and stern are two hoops, one will suspend a cooler, the other a drop bag. At the center is the same bends as the other hoops but will have the larger diameter fence post running the long sides. This was the only real trick to this frame build, the oar tower set up.
Unique oar tower set up
I feel that on any frame you should be able to either adjust your seat position or your oar towers. The seat will be fixed on this frame, so i’m testing an adjustable oar tower set up for a steel frame using NRS oar towers (these guys here https://www.nrs.com/product/91040.02/nrs-frame-oar-mounts). The typical NRS frame material is 1 5/8″ aluminum tubing that accepts the oar towers and other components to be clamped on via U-bolts. In the video I show what happened when clamping the oar towers to the fence post without any support. But by adding a hardwood dowel inside the fence post it essentially makes it crush proof so the oar towers can be tightened down.
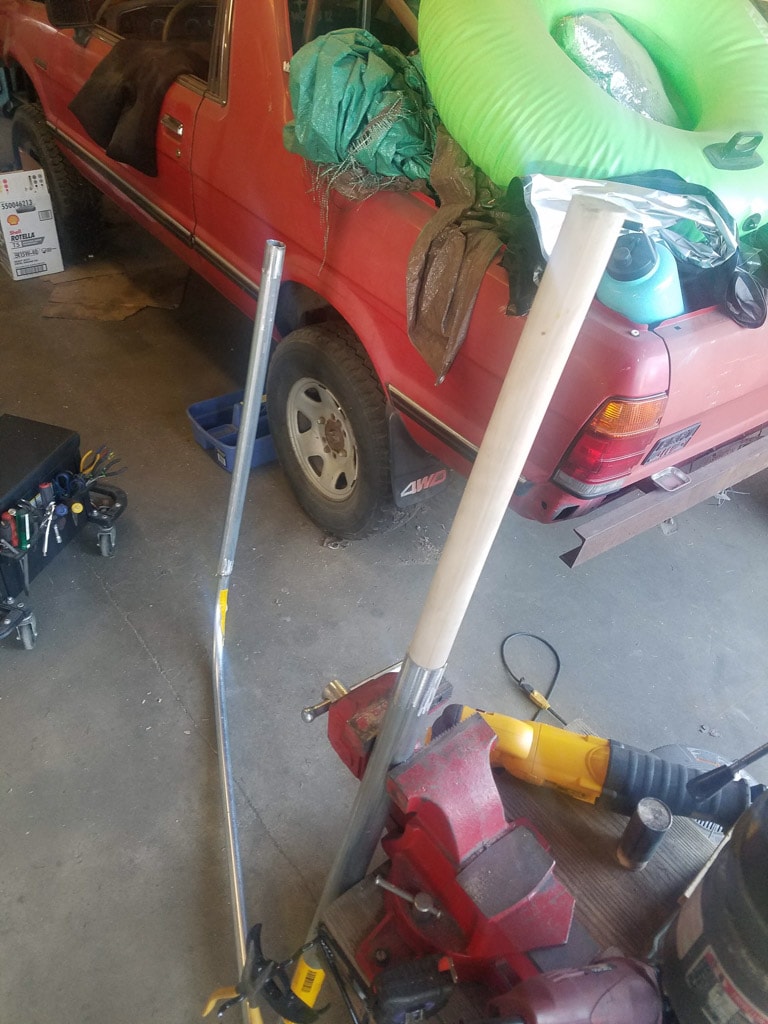
With the dowel running the full length of the larger fence post part of the frame there is a lot of room to adjust oar towers to fit any rower. To incorporate this set up into the EMT portion of the frame I left the dowel a few inches short on each end and made several cuts to bend the fence post to the size of the EMT.
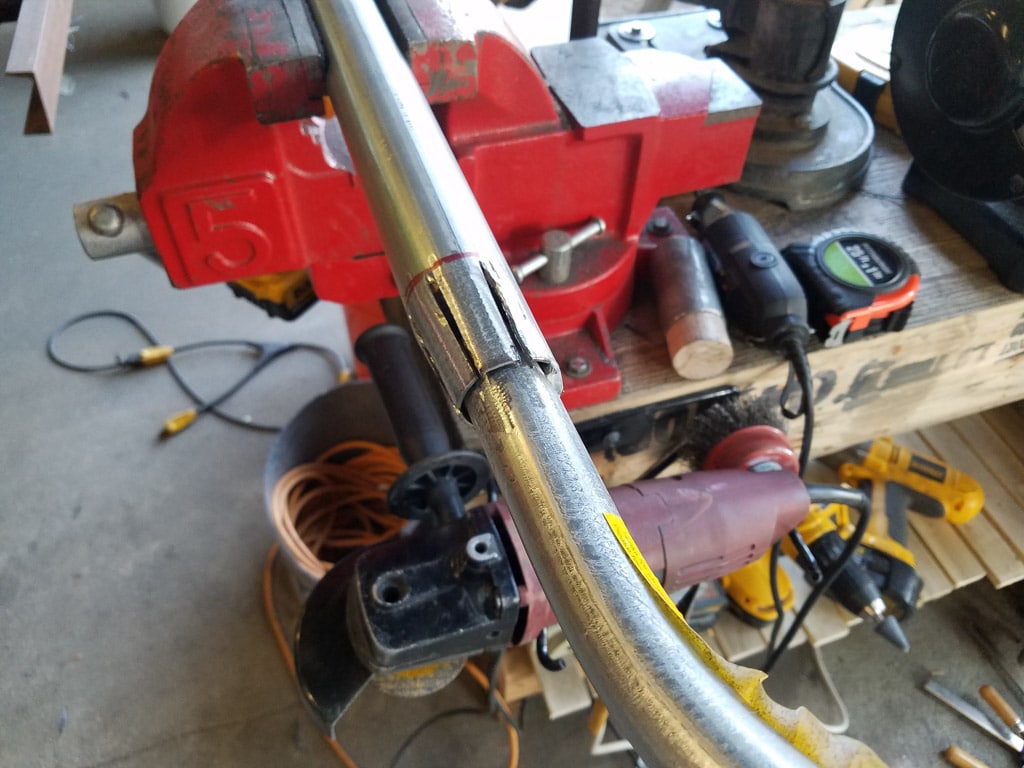
Then just weld up the cuts and the connection.
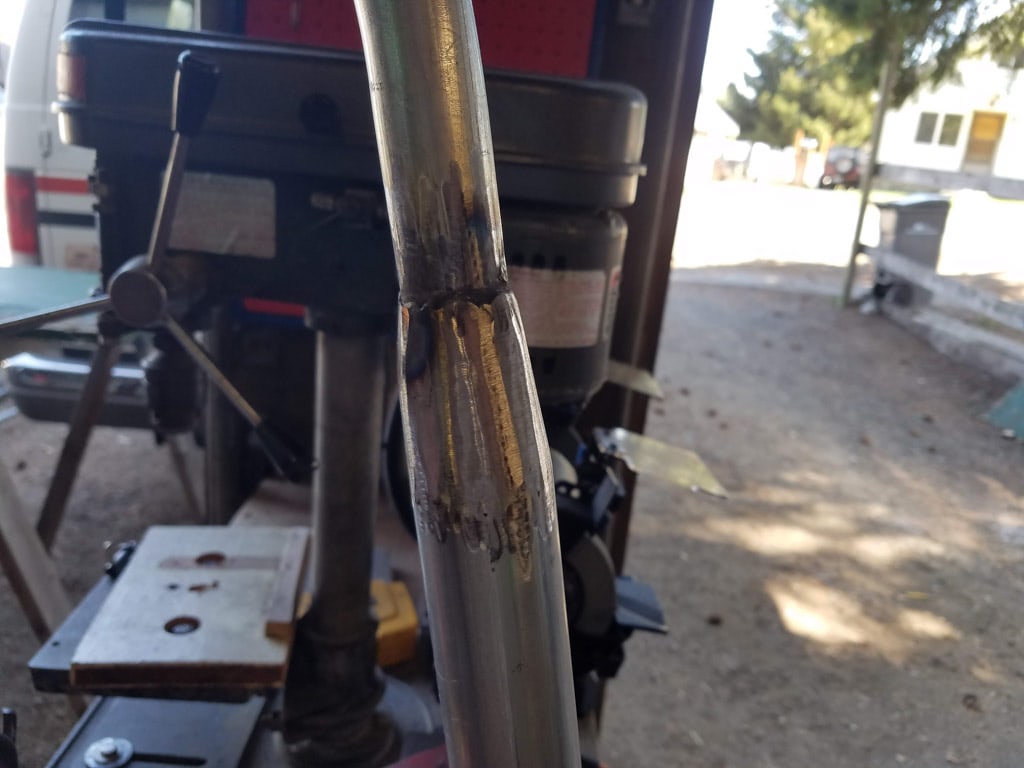
Pretty happy with how this came out. Wasn’t too difficult and should be plenty strong. For the seat I added some extra EMT across the frame and used 18 gauge galvanized sheet metal that the seat is bolted to and to also provide a bit of deck space to either side. 18 gauge is a bit flimsy at first but when welded into place over short spans it stiffens up quite a bit. In hindsight id like to see what the weight difference would be using 16 gauge instead.
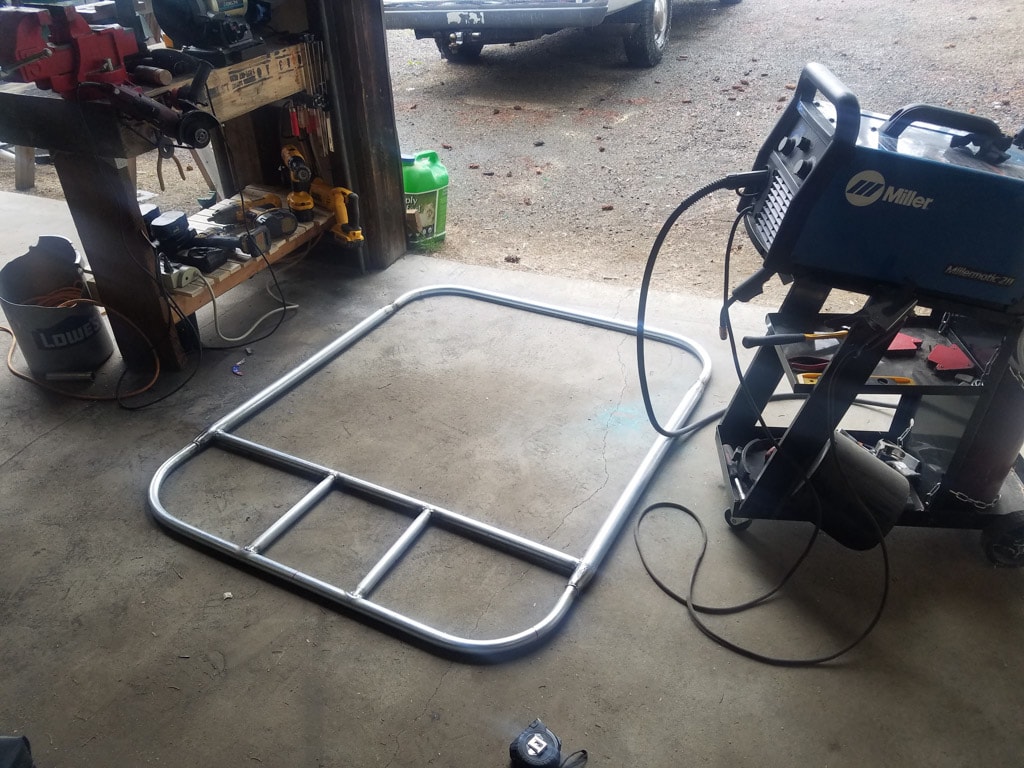
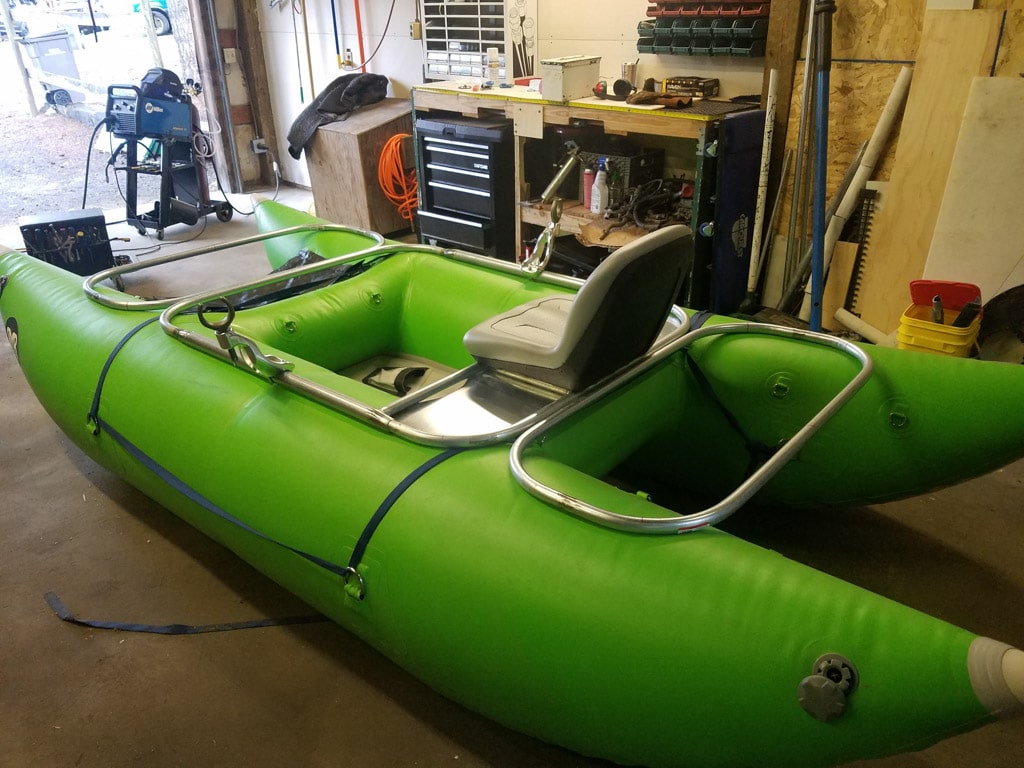
That's all there is to it.
Simple and surprisingly light weight. In the video I chat about my thoughts on steel vs aluminum when it comes to raft frames and I still believe that steel frames can be lighter and strong enough. The aluminum most commonly used to build frames is no doubt stronger than this but does it need to be? So far I haven’t broken any steel frames i’ve used or built.
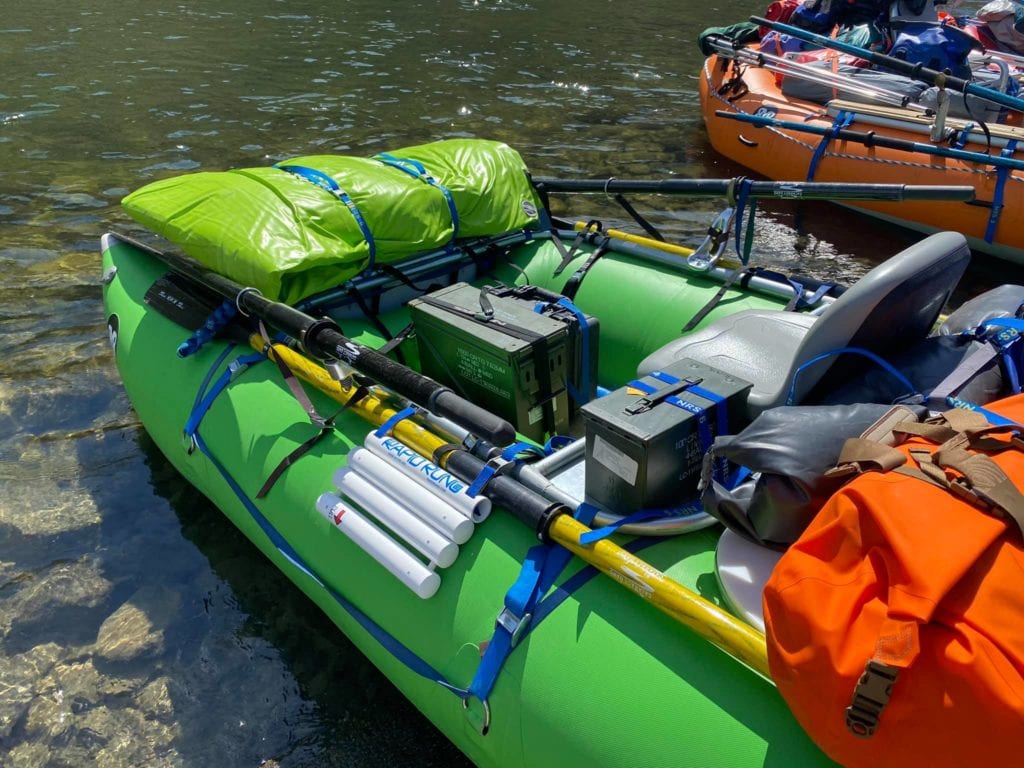
Anyway, Jon seems pleased with this set up. He did say that he wishes he could move the seat forward a little. That is one thing especially with the RMR Phat Cat or any paddle cat style boats, they need to be balanced to perform well. If I would have made the center frame a bit shorter there would be more wiggle room to move it fore and aft as needed. At the time my thoughts were to size it so the bow and stern hoops could be lashed to the center frame as seen. Always taking notes for the next build!
- Post author:riverdog
- Post published:June 4, 2020
- Post comments:0 Comments
